Sunday, June 30, 2013

Sunday Sketch

Here is your new sketch challenge. Upload your layouts to the gallery by July 6th to get your name in a drawing to win a $5 GC to the store. When uploading to the gallery you can name it as you would normally but please include "Sketch 6/30".

Gina Due June 30

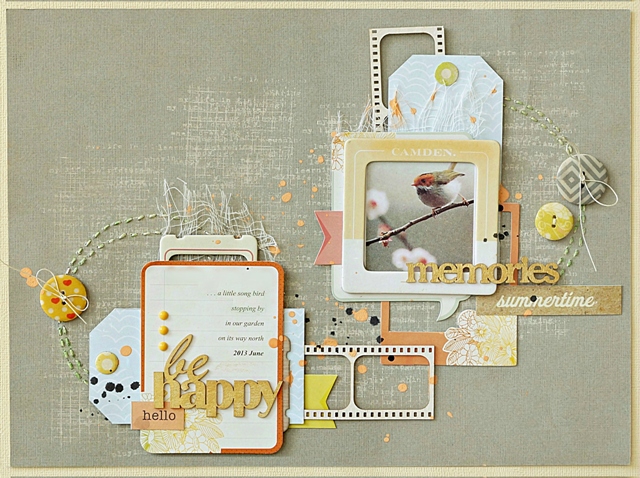
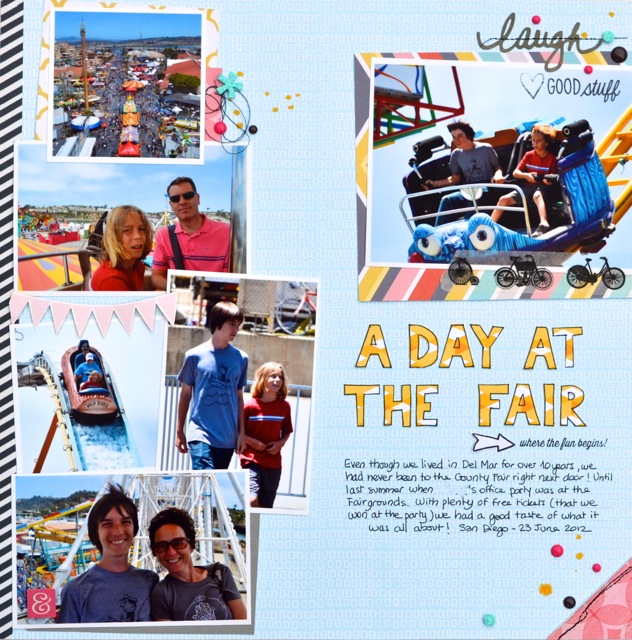
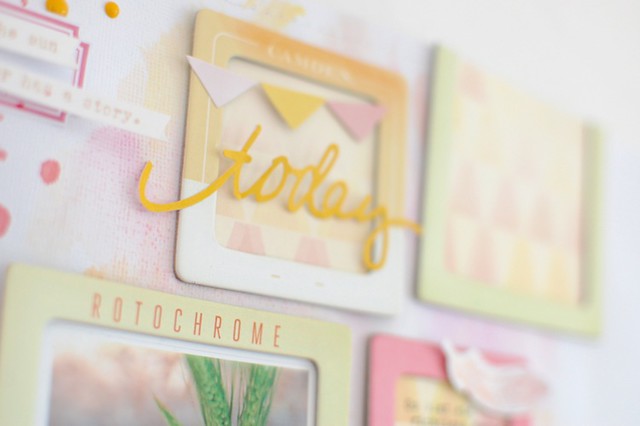
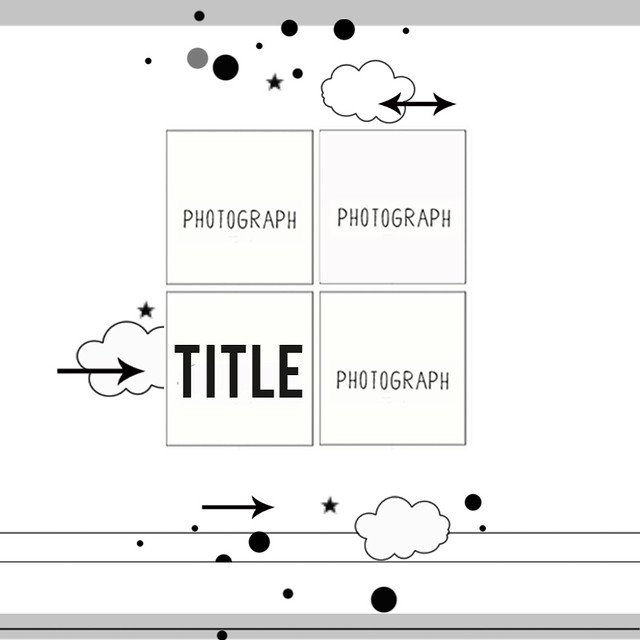
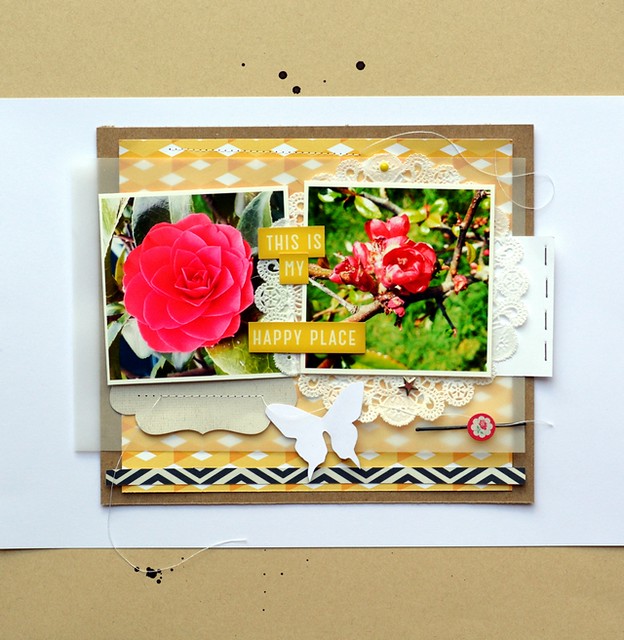
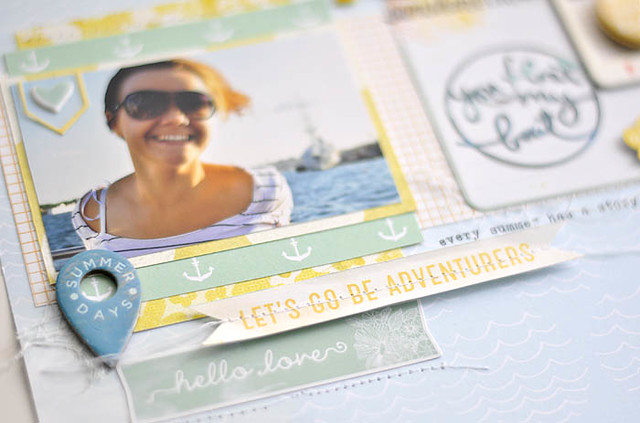
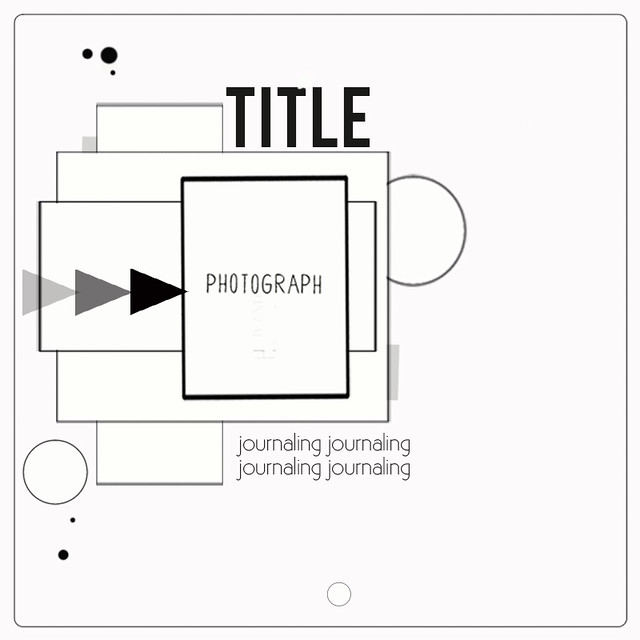
Hi, Gina here to share my take on Kasia’s cool sketch. I love how easily this layout came together. I’ve used just the main kit here, including a piece of the gauze under the photo, I think it looks really effective against the white background, adding a lovely softness to the layout.

IMG_0523

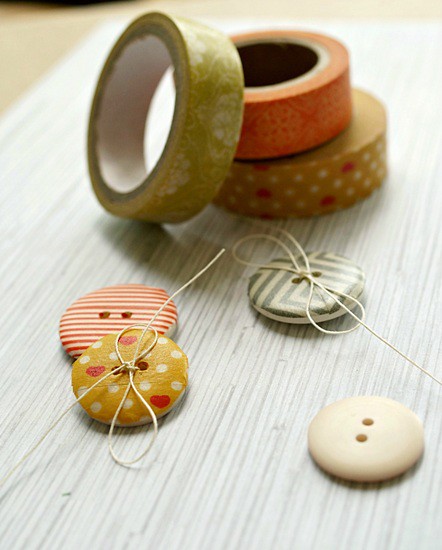
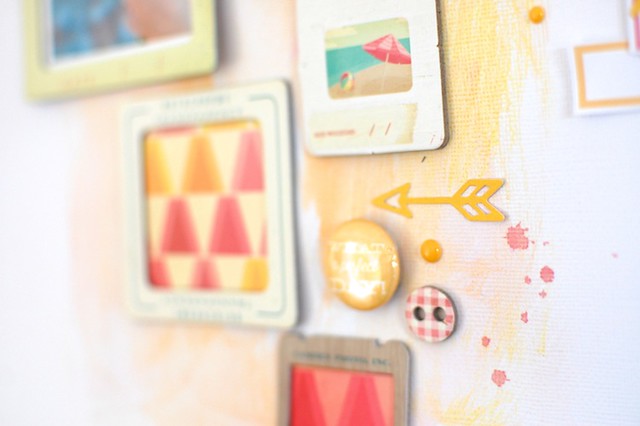
I’ve built up a few layers behind the photo using some papers and a journaling card from the SC die-cut pack, some SC cork stickers and arrows cut to the same size from the Crate Paper ‘poolside’ paper.. I’ve also added a couple of strips of washi underneath.

IMG_0526


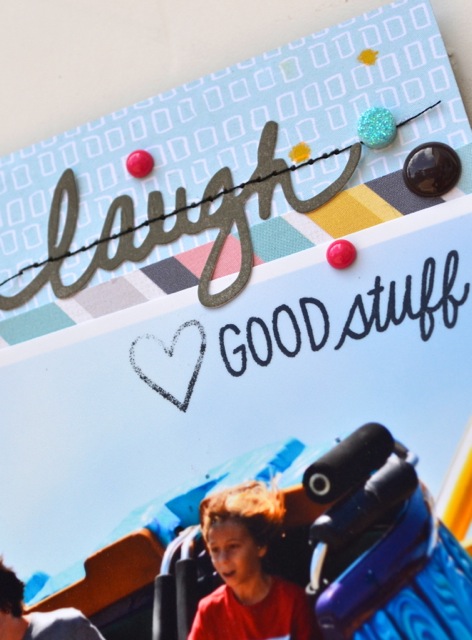
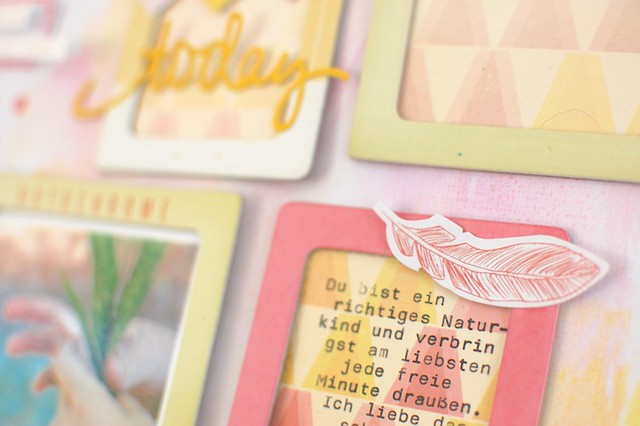
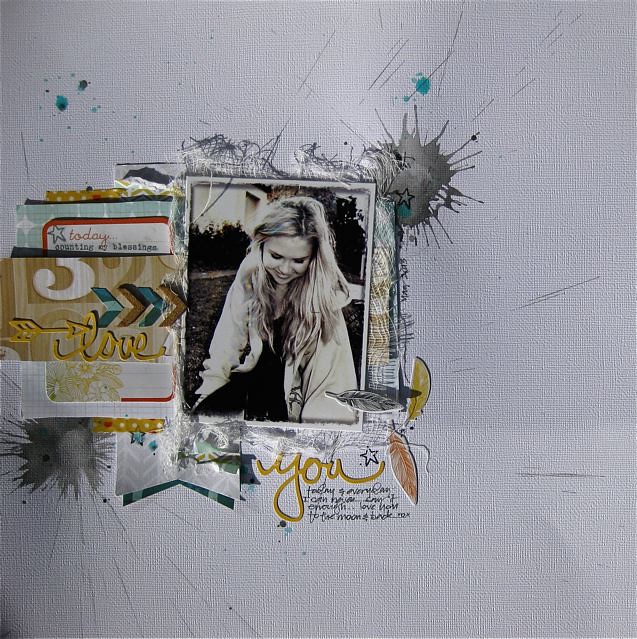
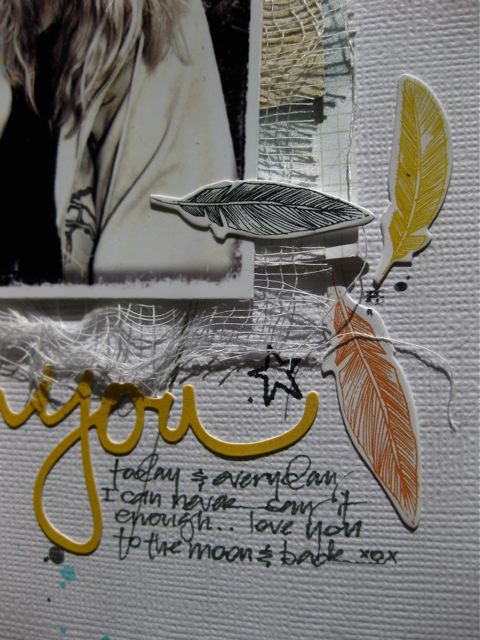
The feather die-cuts are one of my fave things in the kit and it’s great that there are quite a few of them! I’ve finished off with a little hand journaling, stars using the CTK exclusive stamp set and some ink splatters (from my stash)

IMG_0525

I can’t wait to see your take on the sketch!..have fun! Gina xox

Saturday, June 29, 2013

Saturday Inspiration


Hi it's Sandy with an artsy-style layout which is a bit of a departure from my normal scrapping style. I start stamping with the Prima Chalk Ink on grey cardstock. The grid pattern is created using a rectangle of wire mesh. Then I put all the tiny sentiments from the June Main Kit Stamp onto an acrylic block and stamp over the grid pattern.

.

Next I built two embellished blocks : one around the photo, the other around the journaling. Those Sundrifter Die-Cut Shapes go so well with The Pier Slide Frames. I layer several of the them together with tags cut-out from the Altantic Plymouth paper.

. .

I'll also want to share a fun idea for using the washi tapes that Trina packs into the kits each month. Cover your buttons with tape, tear off the edges and you will have fun little dimensional embellishments for your page. Here are some examples using washi tape from the June Main Kit and from previous kits. I used the Main Kit, Embellie Kit and Paper Kit. The only things added from my stash are the chipboard film strips, title sentiments and mists.

.
 

Friday, June 28, 2013

Playing with Project Life


Happy Friday everyone! Today I (Sam) am going to share my Project Life Week 19 spread, using only PL June kit. I am loving the bright summery colors from the Webster's Pages paper pad. However, my spread isn't summer-themed at all just because I am staying in Singapore. We do not have four seasons and we only have either sunny days or rainy days. Those summer colors don't bother me much as I have decided to use green & yellow palette for my left page and pink & yellow for my right page.

PL W19-1 PL W19-2 PL W19-3

Left page: Green & yellow. I found that by deciding on the color combinations that I want and start picking papers for the spread is way easier. Note: I made the weekly title card with my own stash before my June kit arrived. The Heidi Swap alphas and the stamped sentiment is from my recent purchase.

PL W19-4

And this is the pink & yellow spread. Some close-ups of my pockets:

PL W19-5 PL W19-6

The journaling card wrote: Play in the sand. But my boy is only 8 week-old and he is too young to play in the sand. I really like the card so I just cut out the word ' Play' and use it in this pocket.

PL W19-7 PL W19-8

I painted a piece of white card stock with yellow and orang Gelatos. Stamped the sentiments repetitively, stitched some sequins and add the typewriter that I cut out from the paper pad. And here's the set of sketches for this week spread.

sketch 1 sketch 2 That's all for my PL Week 19 spread. I hope you have

Thursday, June 27, 2013

Be Inspired By Our New Exclusive Flair Badges!

Happy Thursday, everyone! Melissa here with another installment of our Be Inspired post series for you today.

Can I talk for just a minute about how much I love the new exclusive flairs that Trina is now adding to the kits? I used one on my layout below, and it was just the perfect accent and really inspired my choice of colors for the page.

DSC_9885.jpg

When I started this layout I had an idea to group the two photos in the middle and then layer papers behind them- pretty standard stuff for me. When I started adding embellishment clusters, that little piece of flair was just begging to be included, and it also encouraged me to add more orange to the page.

DSC_9558.jpg

I found a touch of orange in the rainbow stripes of a branding strip from one of the papers from Crate Paper's The Pier collection, so I added that along the top, but the layout was still screaming for more orange! I added a tiny orange die cut, and then pulled out a misting mask (from my stash) and some orange mist that I made myself by mixing paint and water in a Mini Mister bottle. The result is warm and summery, and all totally inspired by a tiny flair button.

DSC_9560.jpg

DSC_9559.jpg

You'll be seeing even more exclusive flairs in future kits, and we'd love to hear what you, the subscribers, would like to see in both the flairs and the stamp sets. It's important to us that we produce kits that work for you, so please sound off in the comments, send us an email, or leave us a note on Facebook or Instagram if you have suggestions for future exclusive designs!

Wednesday, June 26, 2013

6 x 6 Paper Play

Hi everyone! April here to share my 6x6 paper pad project. I have been loving the sunburst trend that’s been going around lately and was inspired by a card design and tutorial that I saw on the Pebbles blog a few weeks ago, so I decided to try it on a layout! When I saw the tutorial, I thought it was perfect for this project because I was able to use a lot of my 6x6 paper scraps. Not to mention that the photo I wanted to scrap was of my husband and I watching a sunset on our honeymoon. I loved the chipboard Polaroid frame that was included in the Embellies kit this month. I didn’t want to hide it in one of my busy PL spreads, so right away, I knew I would use it on this main layout.

AH-June-6x6-1

The tutorial suggested starting with a template to use as a guide when cutting out the sunburst “rays” from each sheet. Sorry for the terrible photo, but this is what my template looked like. I traced each piece on the patterned paper of choice, and then cut the patterned paper on the trace lines. I numbered each piece so I didn’t get confused when it came to putting it back together.

AH-June-6x6-2


The title is made up of gold Thickers and sequins from my stash. The Dear Lizzy alphas were from a previous CTK PL kit, but they matched this month’s kit so well that I ended up using them for all my projects this month.

AH-June-6x6-3

Being a primary Project Life type scrapbooker, this is the first 12x12 layout that I’ve done since getting back into scrapbooking. I’ve been really inspired lately to venture out and to do more regular layouts. It was fun to make, but it was really hard for me to do. There’s just so much space on a 12x12 page!

Anyway, I hope you enjoy your 6x6 pad!

Tuesday, June 25, 2013

Tuesday Tutorial


I have always been a fan of hand cut title, on other scrappers' pages and on mine. I love the imperfect and fun look it adds so I decided to do just that on my last page created with the June "Charming" add-on (you might also be able to spot stamps from the "Endless summer" set and the Project Life "Jen Boumis"set):

nathalie_adayatthefair_CTKjune2013 nathalie_adayatthefaircloseup_CTKjune2013 nathalie_adayatthefaircloseup2_CTKjune2013

Here is my method for creating this type of hand cut title: I choose a patterned paper that will pop against my background and preferably with a smaller pattern. I decide how tall I want my letters to be and cut a strip of paper that height (usually between 3/4 to 1 inch), that way all your letters will have a unified look despite their imperfections ;)

tutorialphoto1

I then write my letters in chunky letters and handcut them:

tutorialphoto2 tutorialphoto3

If you do not want to see any outline on your letters, you do the same thing on the backside of the paper but make sure you write the letters in reverse:

tutorialphoto4

That is how I made this title back in June last year (with Citrus Twist very first kit!):

nathalie_thismakesmyheartsing_CTKjune2012

In these days of die-cutting machines and sticker galore, I wanted to remind you that a handcut title is sometimes a great option!

Happy scrapping! Nathalie

Monday, June 24, 2013

Simple Strategies


Hi there, it´s Nina here today sharing a simple strategy with you. I your Citrus Twist June kit you´ll find the awesome Crate Paper Chipboard Frames and it is really easy to create a scrapbook page with
 it.

DSC_0456

Mix the frames on the cardstock (this one is painted with some Faber Castell Gelatos from my stuff) in this way you like, mark the position with a pencil and add some patterned paper on the back.

DSC_0459 DSC_0460

It´s a great thing to include also some typewriter journaling. Add some embellishments like buttons, stamps and enamel dots to complete the page.

DSC_0461

It´s so easy, isn´t it?! Thanks for visiting the Citrus Twist blog today,

Sunday, June 23, 2013

Sunday Sketch


Hi, here is Amélie and today, I will show you my interpretation of this month sketch. This is a very simply sketch, perfect to highlight your most beautiful pictures!

Upload your layouts to the gallery by June 29th to get your name in a drawing to win a $5 GC to the store. When uploading to the gallery you can name it as you would normally but please include "Sketch 6/23".

Amelie Due June 23

For this layout, I used June Add-ons kit. Only the doily comes from my stash. The sticker’s title comes from a previous kit and the butterfly is a cameo cut file. I also recover a barrette on which I glued a little flower stickers.

  CTK Sketch2

I hope you will like it! See you soon, Amélie

Saturday, June 22, 2013

Saturday Inspiration

Happy weekend my CTK friends! It's Nathalie here today to share another one of my layouts created with the "Charming" kit add-on, the "Endless summer" stamp add-on and also the PL stamps from Jen Boumis. I love the colors of this kit and its mix of pinks and aqua made me think of pictures my husband took during a recent trip to the Red Sea (which is not red as you can see!). And since I was not there with him, I am hoping that he will agree to fill the journaling himself to record his impressions.
nathalie_theredsea_CTKjune2013

The "Explore" sticker from the Basic Grey Mint Julep sheet was a big part of the inspiration for this page! It was perfect to highlight the far away location with an enamel dot: nathalie_theredseacloseup_CTKjune2013 nathalie_theredseacloseup2_CTKjune2013

Friday, June 21, 2013

A Fun Citrus Twist Announcement

Hello Citrus Twist Readers!!  We have some winners to announce, a fun giveaway to share, and some important info about the sketch challenge.

So what should we talk about first? I guess we will talk about our new fun challenge that has a giveaway involved. As you can see we have a brand new site. And to celebrate we are going to have a week-long challenge. We want to see your Citrus Twist layouts in our new member gallery you can find HERE. For every layout you post you get your name into a drawing for a $5 GC to the CTK store. How easy it that?!! This challenge will run till June 29th.

 
That brings me to the next important info. When completing your layout for the sketch challenge we would like for you to upload it to the gallery. You can title your layout as you normally would, please just make sure you include this in the title "Sketch (insert date of the sketch)" So for example if I were to upload one for this week's sketch it would say "Fun Day Sketch 6/16". *Note there is still time to create a layout for this weeks sketch challenge*


Now for the winners.  Sorry for the delay but I have been absent since I had a baby a week ago. 

The winner of the guessing game is:


This is so beautiful! I see so much goodness there - Crate Paper The Pier Chipboard, Studio Calico Atlantic Paper - Plymouth, Jillibean Stickers! LOVE!
 
 
The winner of our guest designer's Top 5 is: (you get one of her favorite items)
 
i am envious of both your talent and your scrap space. both your layout and your work table are swoon worthy!
 
And here is our sketch winner from June 9th:
 
Barb Prendergast
 
Winners please email Trina at Citrustwistkits@yahoo.com to claim your prize.  Congrats!!
 

Playing with Project Life


Hi everyone! April here with another installment of Playing with Project Life. When I received June’s kits, I knew immediately that I couldn’t waste all the summer-y goodness on my weekday spreads. They were just TOO perfect for documenting the sun and sand, so I reevaluated my initial plans and decided that I should FINALLY start scrapbooking my honeymoon trip that we took in 2012 (my plan is to create a full 12x12 PL album for this trip alone). We spent four days/three nights on the beautiful Greek Island of Mykonos. AH-June-PL1-1 AH-June-PL1-2 AH-June-PL1-3

If you follow us on Instagram (@CitrusTwistKits), you’ll have seen the sneaks I posted from some of my favorite cards that I made for this spread. For the title card, I cut “Mykonos” from my Cricut again, and then embellished using items from the kit plus the 6x6 cut-away papers that I turned into tags (by cutting off the top corners). For the 3x4 card, I used Jen’s amazing stamps to make a simple and easy filler card by repetitive stamping. For the 6x4 filler card, I used the chipboard kite as a guide then glued down the twine, then glued down the alphas that I made into a banner.

AH-June-PL1-4

I also busted out my calligraphy pen and watercolors for a couple of cards. AH-June-PL1-5

And here are your sketches!

AH-June-PL1-6

Thursday, June 20, 2013

Be Inspired

Hi everyone! Or maybe I should say ''ahoy!'' :) Summer is so close and the Citrus Twist Kits reflect this season so beautifully! When I opened the box with June kits I could also feel the light breeze and I jumped to Pinterest to search for some nautical, marine inspiration. Sailing became a huge trend this year with all the anchors and seaside inspirations and here are some of my favorites:


I created a sailing inspired layout with my June kits- you will find here pieces from the main kit as well as some elements from embellie add on, paper add on and project life kit.

AHOY Kasia Tomaszewska
AHOY det1 Kasia Tomaszewska;

Do you like the marine theme? If so, please share your light and breezy layouts with us! Let's welcome the summer together!